If you want to start at part 1 head here
part 1
So when I left you last I had just added the ballast and primed the units black for the ground. Once all this was dry I could begin the painting.
The flat surfaces have been dry brushed browns through to a very light cream.
Up next the cliffs were progressively painted grey - dark through to lights.
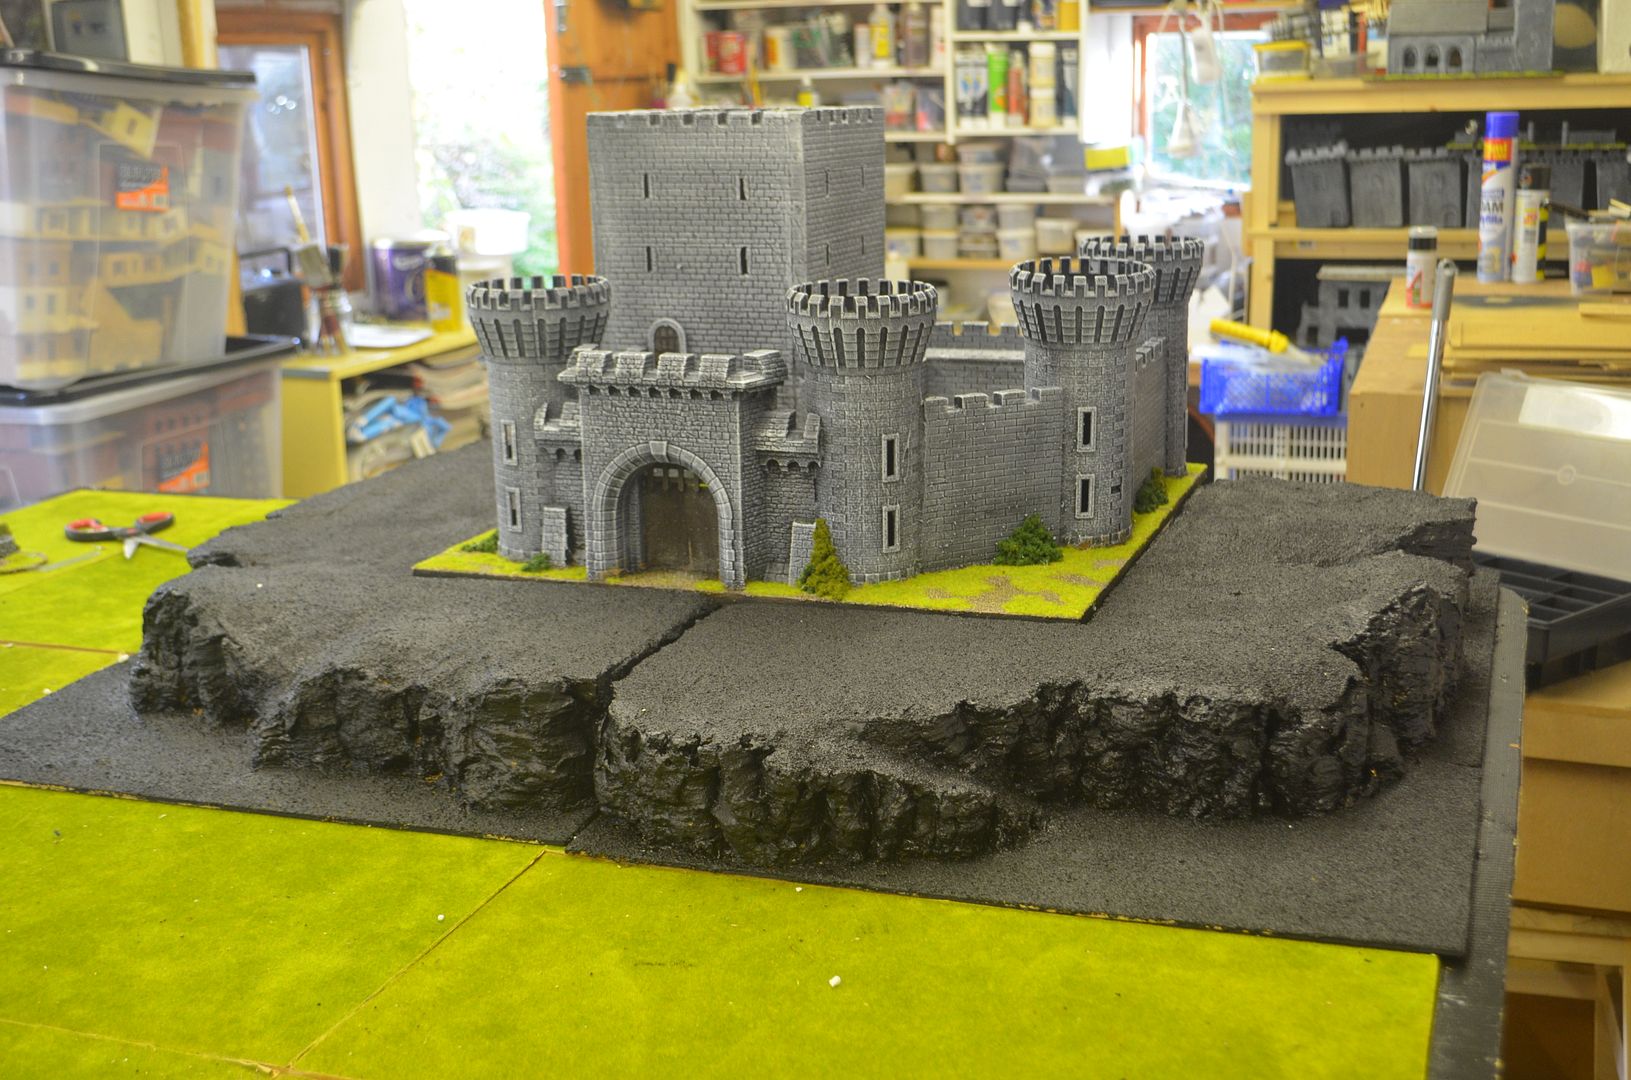
You can see the big difference the dry brushing has made...here's just the cliffs in black !
Once all this was dry I have added the static grass - Ill get round to adding some bushes at some point but I have to stop now as I have a game for this evening to set up.
 |
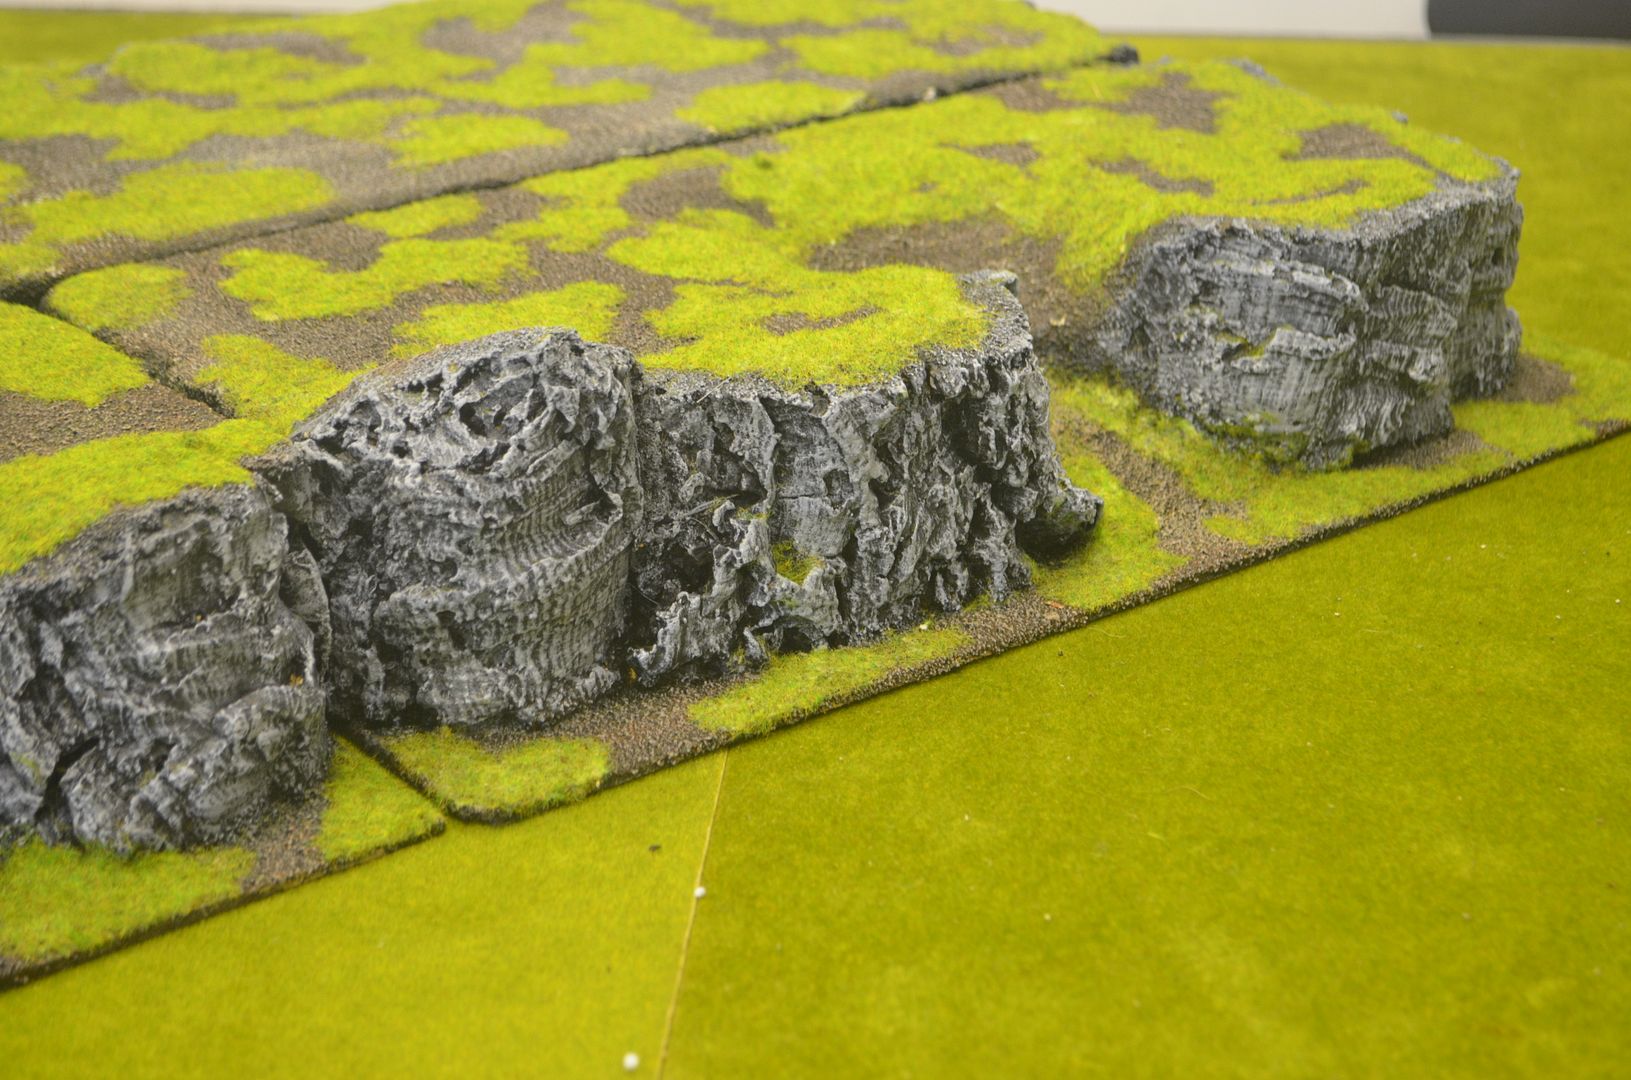
| Close up of cliffs - two of these sections have ramps up to the upper levels |
 |
| A giant Mesa |
 |
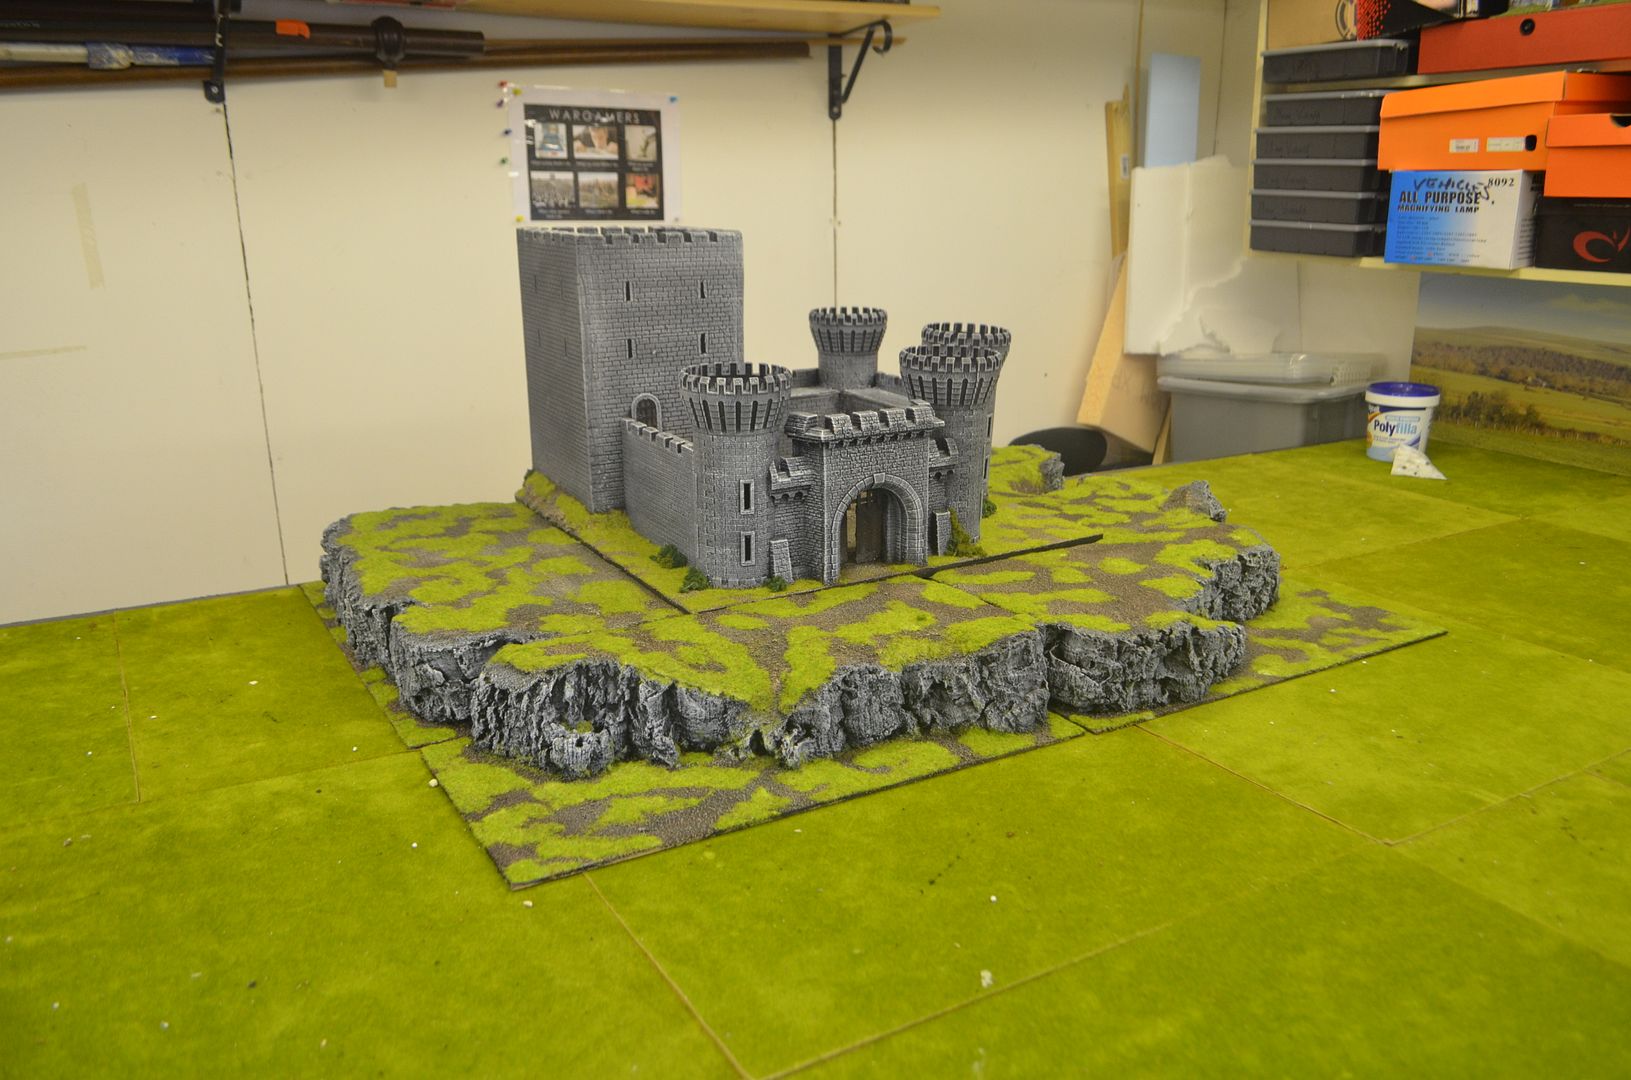
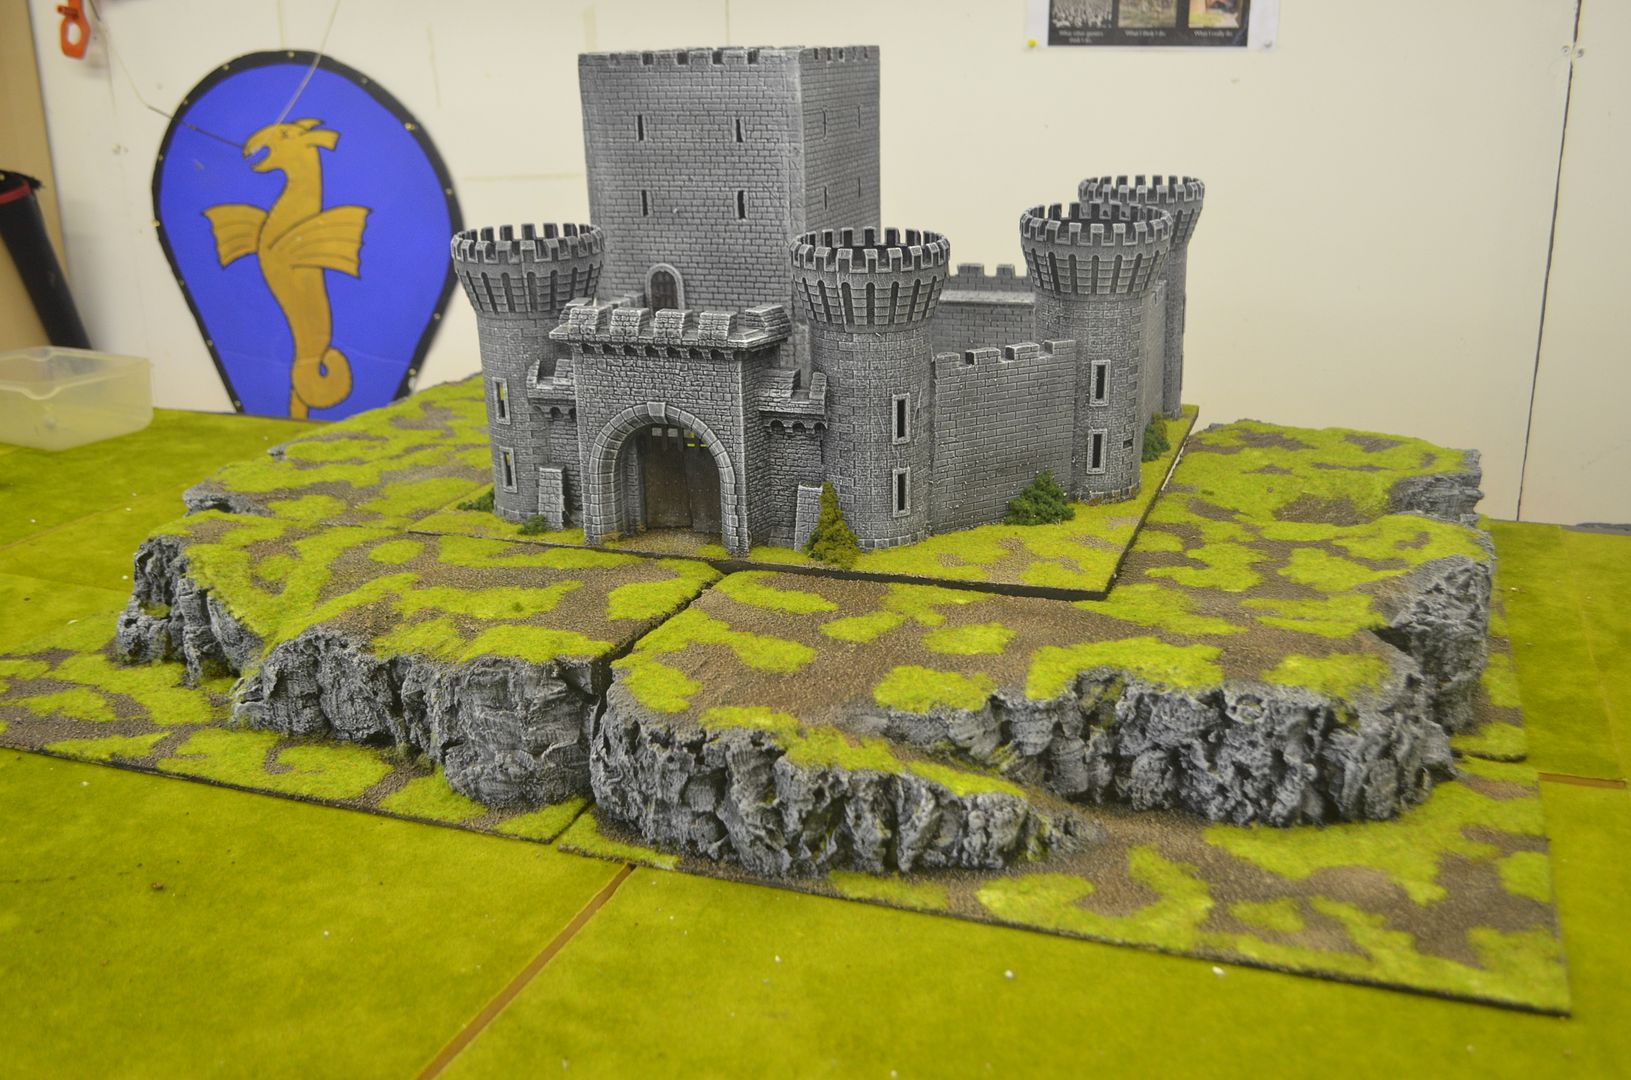
| The Castle sits proudly on the raised ground. |
A better view of one of the causeways up to the top...
If you are interested in more things rocky..head here
http://shedwars.blogspot.co.uk/2014/01/rocky-outcops-oak-bark.html
If you want to see how the castle was built head here...
http://shedwars.blogspot.co.uk/2013/09/the-keep-tales-of-shedwood-part-1.html
Thanks for following this
cheers


Thank you for sharing - your site and projects are inspirational for a new (well... newish) hobbyist
ReplyDeleteLook excellent! Well done!
ReplyDeleteFantastic - I was so impressed I made a small one myself.
ReplyDeleteThanks for the idea. Dan
Excellent they look very effective. The Castle looks superb mounted on the cliffs.
ReplyDeleteNice work as always! I also see a shield in the background. A fellow SCA member?
ReplyDeleteGreat work! Really well done.
ReplyDelete